It’s no secret that I hate washing my hair. And you learned here about my love of dry shampoo. Unfortunately, the combination of the two of those leads to a lot of build up on my hair brush. If you’d like to lengthen the amount of time between hair washes, you definitely want to keep your hair tools as clean as possible!
You know all that gunky stuff that builds up on your brushes? It’s a combo of any hair product you use, as well as sebum (aka oil) build up from your scalp. And if your hair sheds anything like mine, hair build up happens pretty quickly. A thorough cleaning every other week will keep your brush in tip top shape, and prevent you from spreading excess oils and product through your hair.
A word of caution – my hair sheds…a lot. If hair build up or gunk grosses you out, you may want to skip this post!
Tools needed:
- A dirty hairbrush (duh)
- Teasing or regular comb (something to pry hair up with)
- Water (this project is best done in the bathroom, so you should be all set)
- Clarifying shampoo (I used R+Co OBLIVION Clarifying Shampoo that I got from Birchbox. If you aren’t a member yet, you can sign up here.)
- Toothbrush or teasing brush for scrubbing (I for sure would NOT use a toothbrush that has ever been used in your mouth, or for anything else really. If you use a toothbrush, get a cheap one that you can throw out)
- Q-tips if needed for a more thorough cleaning
- Clean the hair out of your brush. My favorite way to do this is to take the end of a teasing comb and use the thin end to pry the hair up, then pull it out the rest of the way with my fingers.


- Wet your brush. If you have a wood brush like mine, you definitely want to be careful not soak the handle/base in the water. I like to get a bowl of water (or fill my sink) and dip the bristles/pad into the water to avoid getting the wood wet).
- Apply clarifying shampoo to the tips of your cleaning brush (I like to use my teasing brush so that I’m actually cleaning both at the same time) and begin scrubbing the base of your brush, making sure to get around all of the bristles. Scrub until there is no gunk remaining around each bristle. If there are any lingering chunks, go in with a q-tip covered in clarifying shampoo and clean those last pieces up.


- Rinse the brush well. Once again, if you have a wood brush, take care as you’re doing this. You definitely want to rinse it completely so that there is no shampoo remaining.
- Lay brush flat to dry. Since this brush has plastic bristles, I lay it upside down on the bristles, so that no remaining water drips on to the wood base.
- Voila – your brush is like new!

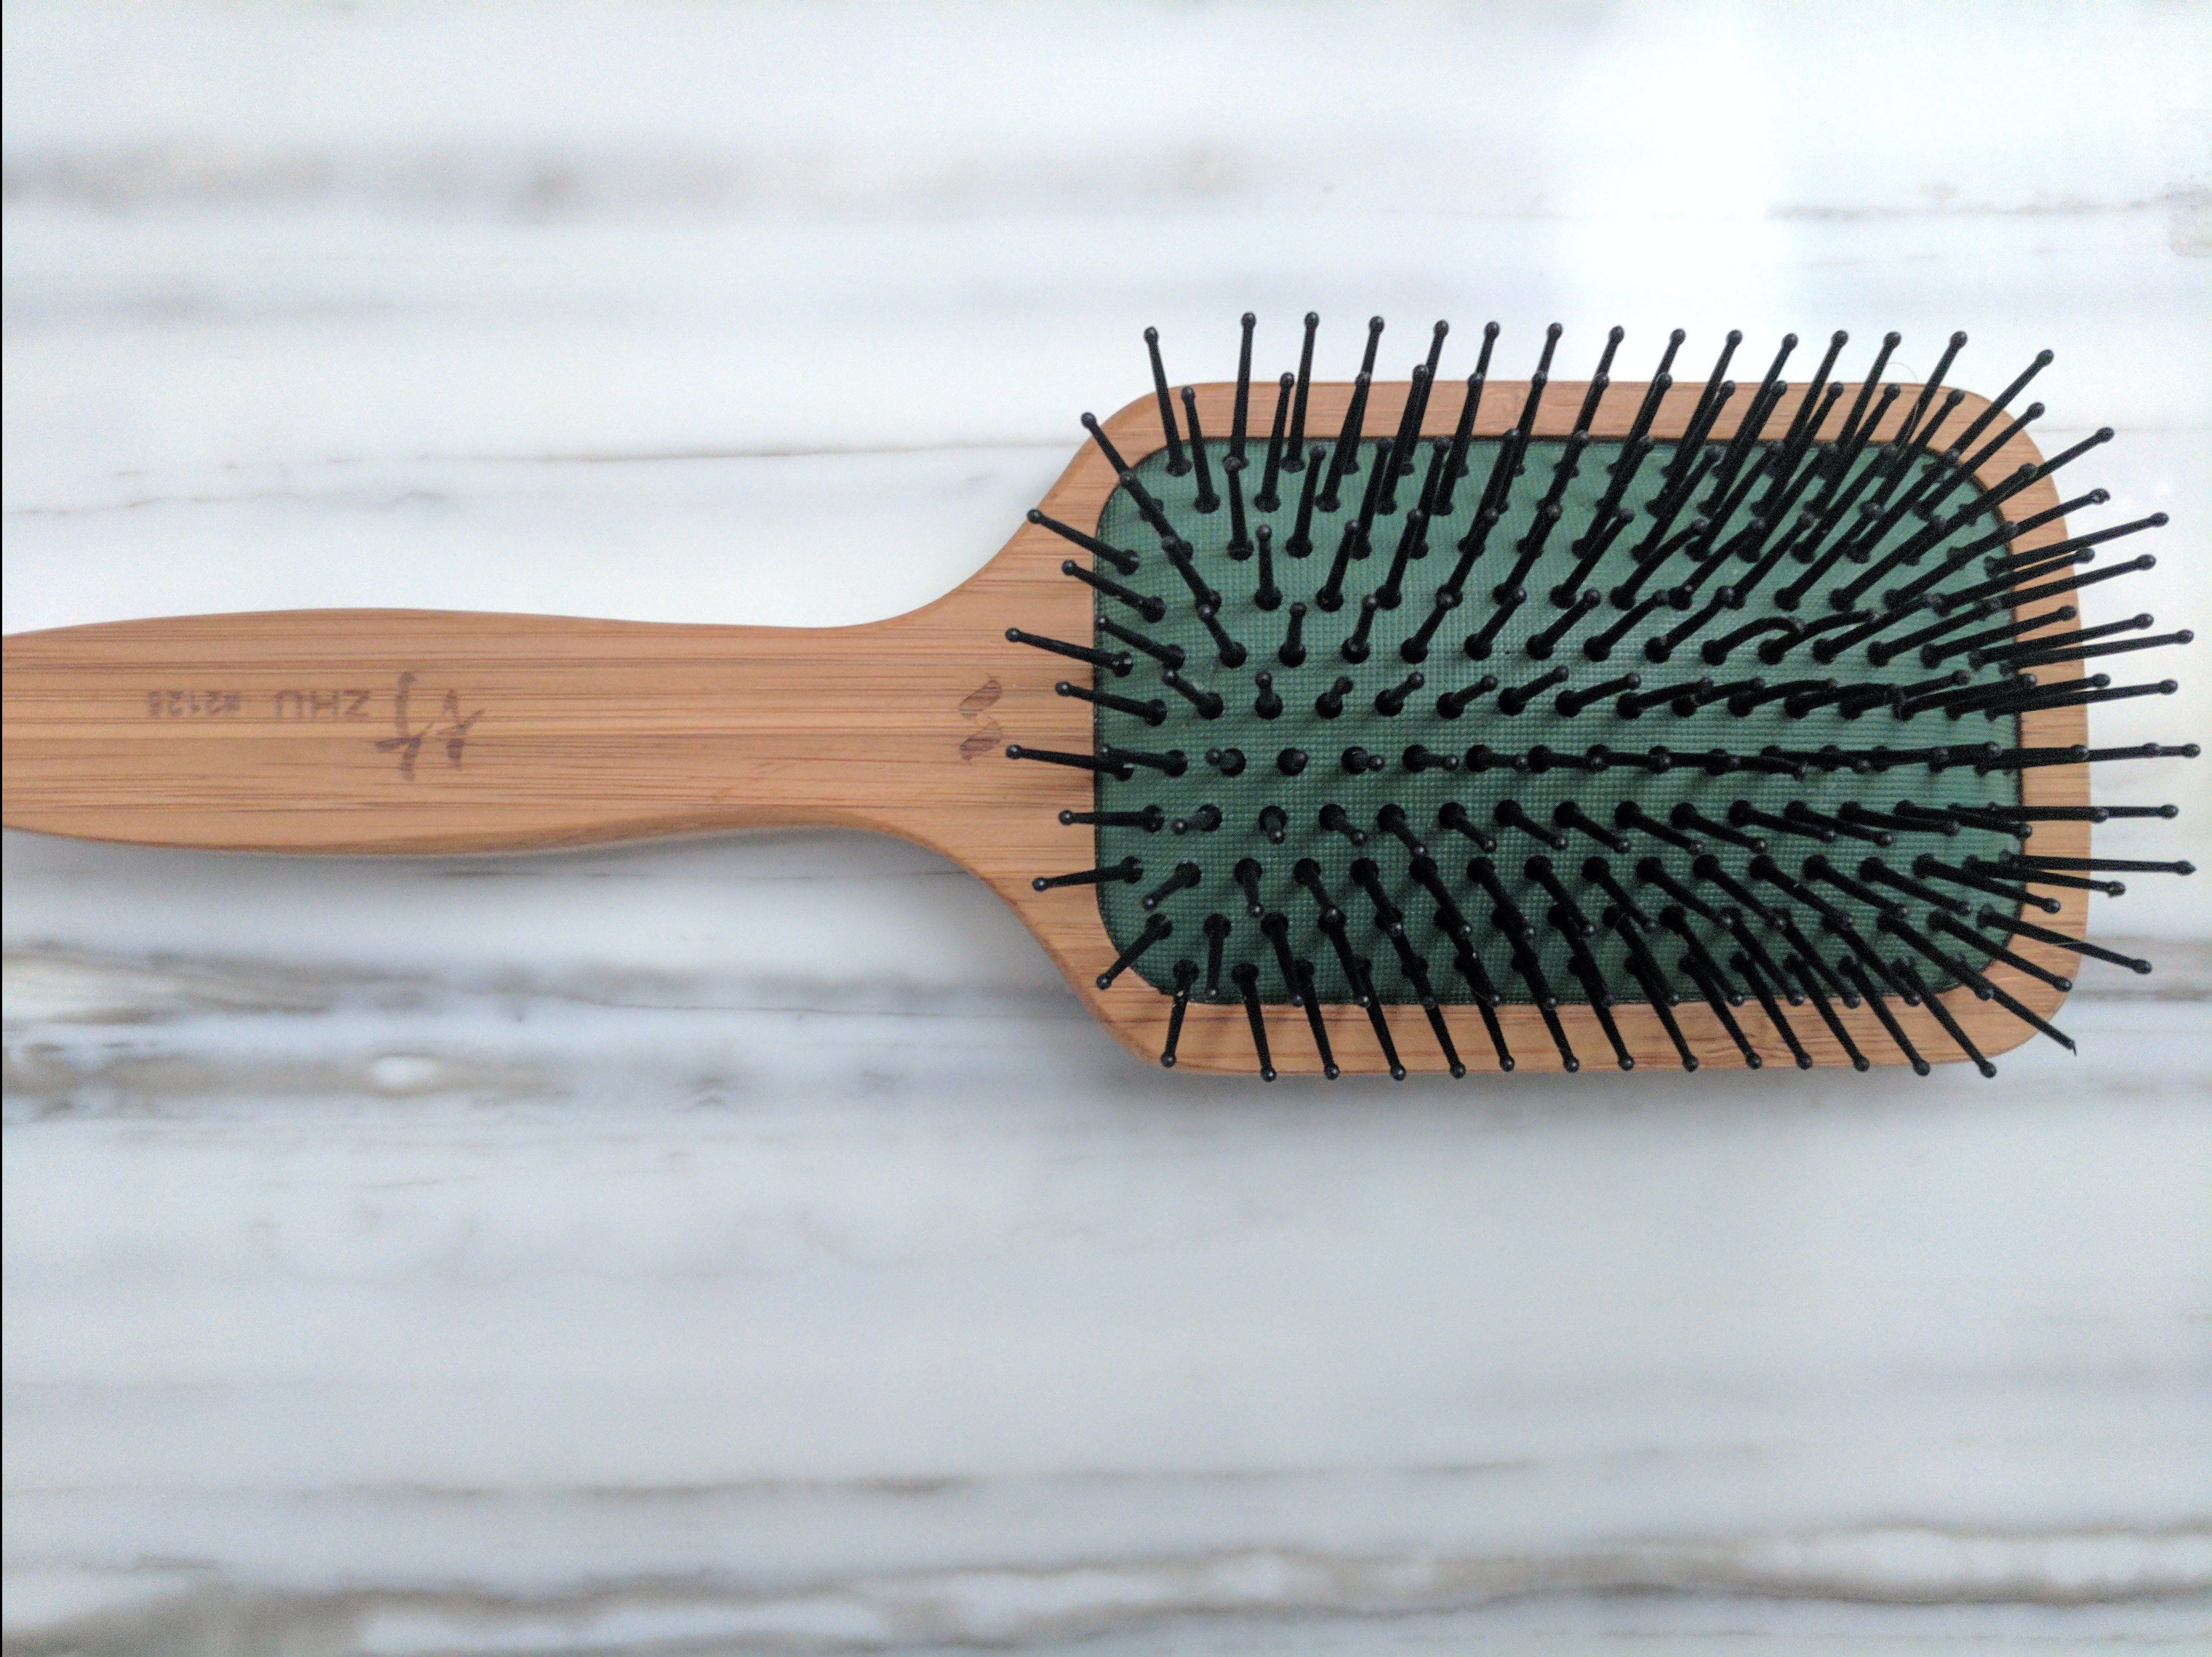
BTW – I absolutely adore this brush by Spornette. I can’t seem to find the exact one on their website, but if you’re looking for a great quality brush that will last you, then check them out here. They have so many to choose from based on your hair type and needs! There are several more I have my eye on!
Make sure you save this one to your Pinterest board because you’ll want to come back to this tutorial time and time again! And make sure to follow along with me here, so you have easy access to all of my Dairing pins!

I hope you all have an amazing week! And as always…
Stay Dairing.


